Object Detection - yolov7 (GPU로 학습)
https://github.com/WongKinYiu/yolov7
GitHub - WongKinYiu/yolov7: Implementation of paper - YOLOv7: Trainable bag-of-freebies sets new state-of-the-art for real-time
Implementation of paper - YOLOv7: Trainable bag-of-freebies sets new state-of-the-art for real-time object detectors - GitHub - WongKinYiu/yolov7: Implementation of paper - YOLOv7: Trainable bag-of...
github.com
학습 환경세팅
(label_yolov7) C:\Users\jm237>cd C:\Univercity\2023_2_winter\yolov7\yolov7-main위 github 에서 다운받은 yolov7-main 파일 위치로 이동
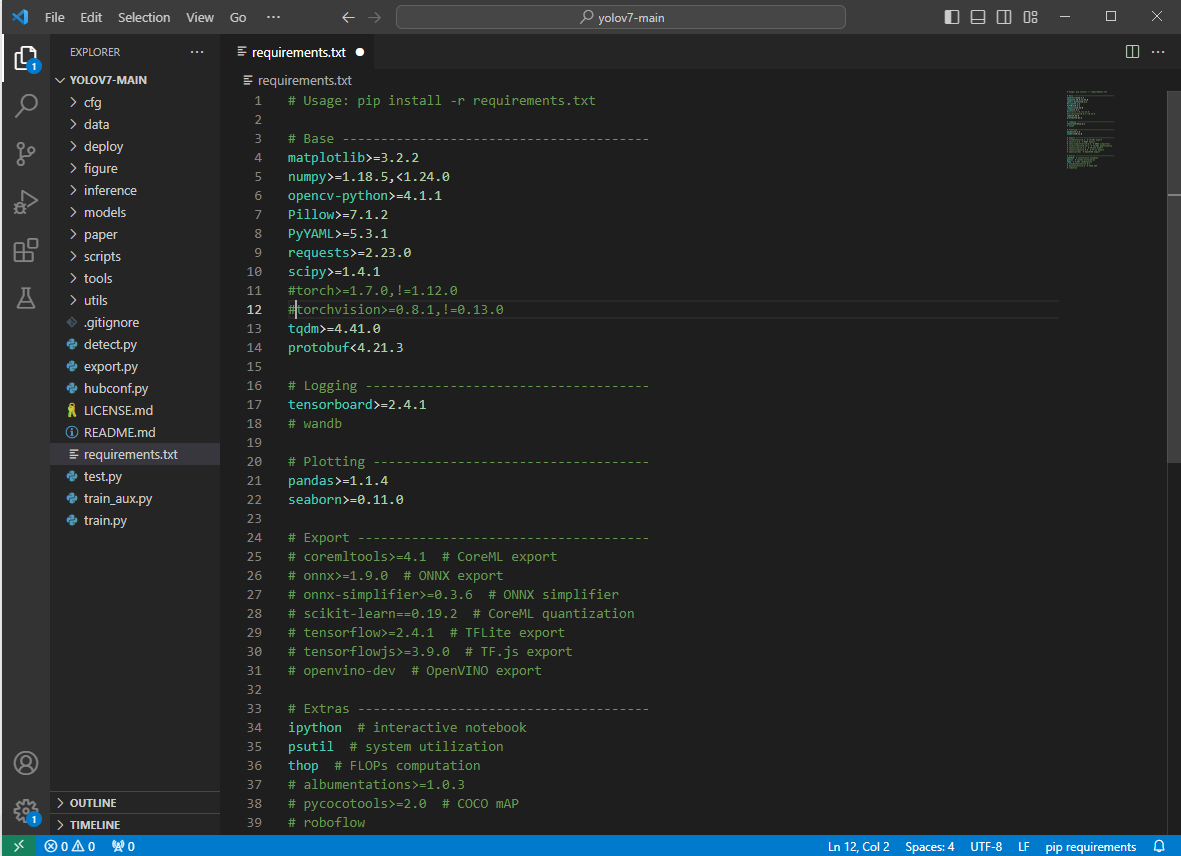
다음에 yolov7-main 안에 requirements.txt 부분에 torch, torchvision 주석처리
이후 학습시키려는 가상환경으로 들어가서
pip install -r requirements.txt설치가 완료되면
https://pytorch.org/get-started/locally/
Start Locally
Start Locally
pytorch.org
여기로 들어가서

error : CUDA 버전을 다르게 하면 나중에 학습 시작 후 device 0 오류가 발생하니 주의!!
pip3 install torch torchvision torchaudio --index-url https://download.pytorch.org/whl/cu117cuda 11.7 버전 설치
학습 코드 수정
yolov7-main/data 로 들어가서
1. images, labels 폴더 생성 (라벨링 작업했던 .jpg 와 .txt 각각 images 와 labels 폴더 안에 집어 넣기 )
2. data.yaml 생성
3. a.py 생성

1. images, labels 폴더 생성 (라벨링 작업했던 .jpg 와 .txt 각각 images 와 labels 폴더 안에 집어 넣기 )

꼭 .jpg 와 .txt 파일 명이 일치해야 하고 images 와 labels 폴더명은 동일해야함. ex) img,label 같이 바꿔버리면 추후 학습 불가.
2. data.yaml 생성
# train and val data as 1) directory: path/images/, 2) file: path/images.txt, or 3) list: [path1/images/, path2/images/]
train: C:\\Univercity\\2023_2_winter\\yolov7\\yolov7-main\\data\\train.txt  # 118287 images
val: C:\\Univercity\\2023_2_winter\\yolov7\\yolov7-main\\data\\val.txt  # 5000 images

# number of classes
nc: 3

# class names
names: [ 'y','b','r' ]
=> coco.yaml 파일 안에 코드 끌어와서 라벨링 형식에 맞게 수정.
나는 노란콘, 파란콘, 빨간콘 3개 로 라벨링 작업을 해서 nc: 3 으로 수정하였고,
class name 도 y,b,r 로 수정.
train: 과 val: 은 내 data 폴더 경로로 수정.
뒤에 train.txt, val.txt 는 이후 a.py 코드를 실행하면 생성.
3. a.py 생성
from glob import glob

img_list = glob('C:\\Univercity\\2023_2_winter\\yolov7\\yolov7-main\\data\\images\\*.jpg')

print(len(img_list))

from sklearn.model_selection import train_test_split
train_img_list, val_img_list= train_test_split(img_list, test_size=0.2,random_state=2000)
print(len(train_img_list), len(val_img_list))

with open('C:\\Univercity\\2023_2_winter\\yolov7\\yolov7-main\\data\\train.txt','w') as f:
    f.write('\n'.join(train_img_list) +'\n')

with open('C:\\Univercity\\2023_2_winter\\yolov7\\yolov7-main\\data\\val.txt','w') as f:
    f.write('\n'.join(val_img_list) +'\n')
학습 진행
아나콘다로 돌아가서
python train.py --device 0 --batch-size 32 --data data/data.yaml --img 640 640 --cfg cfg/training/yolov7.yaml --weights 'yolov7_training.pt' --name yolov7-custom --hyp data/hyp.scratch.custom.yaml
이때 device 0 은 gpu 사용
batch size 란 한번에 모델이 학습하는 데이터 샘플의 개수.
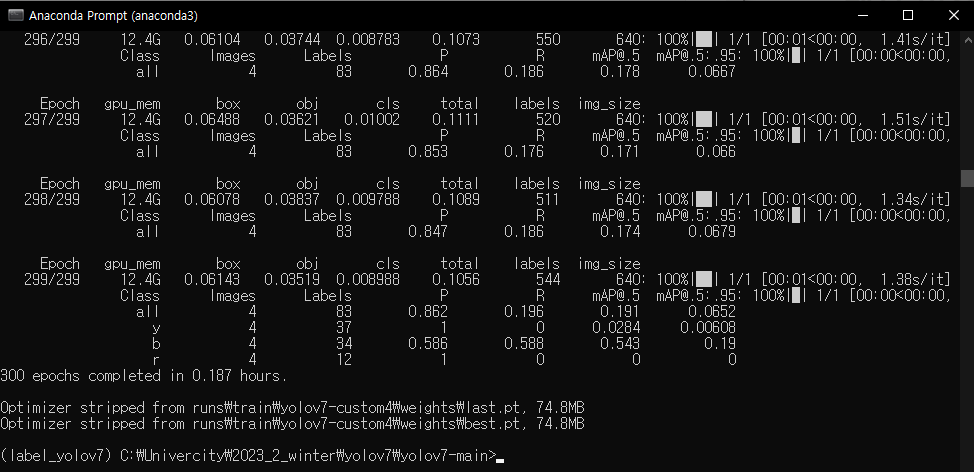
수행하면 학습이 되고 학습이 완료되면
Object detection
이제 학습된거 가지고 Object detection 진행.
학습이 완료되면 runs\train\ 에 yolov7-custom 에 .pt 확장자 파일이 많이 생길것이다. 그 중에 성능 좋은거 사용하면 된다. 나는 best.pt 를 사용하였다.
이제 best.pt 파일과 Object detection 을 진행할 영상을 yolov7-main 폴더로 가져온다

python detect.py --weights best.pt --conf 0.25 --img-size 640 --source test.mp4 --view-img아나콘다로 가서 yolov7-main 경로로 들어가서 위 명령어를 실행해주면
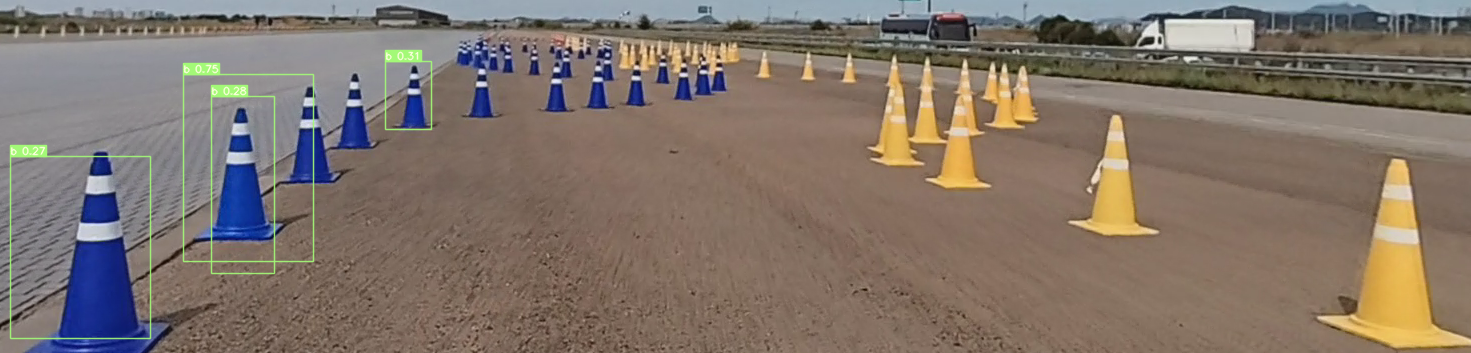
이렇게 결과가 나온다.
사진을 20장만 학습시켜서 노란콘은 인식이 잘 안되지만 라벨링한 사진 수를 늘리면 노란콘도 인식이 잘 될것이다.