Camera_Lidar Fusion_1_(카메라 bag파일 녹화,/usb_cam/image_raw,/usb_cam/camera_info)
https://github.com/heethesh/lidar_camera_calibration
GitHub - heethesh/lidar_camera_calibration: Light-weight camera LiDAR calibration package for ROS using OpenCV and PCL (PnP + LM
Light-weight camera LiDAR calibration package for ROS using OpenCV and PCL (PnP + LM optimization) - heethesh/lidar_camera_calibration
github.com
다음 github 를 참고하였다.
1. 초기 세팅
Install dependencies.
sudo apt install ros-noetic-camera-calibration
* noetic 부분은 본인 ros1 환경에 맞는 이름으로 변경해서 사용! (나는 noetic 버전을 사용중.)
Run the following to clone the lidar_camera_calibration package in ros_workspace/src directory.
cd ~/ros_workspace/srcgit clone https://github.com/heethesh/lidar_camera_calibrationcd ~/ros_workspace/catkin_makesource devel/setup.bash
2. bag 파일 촬영(Lidar and camera)
2-1. 카메라 키기
roscorerosrun usb_cam usb_cam_node* 이때 카메라가 여러대인 경우 위 명령어로 카메라가 안켜질 수 있거나 Usb_cam 이 아닌 내장형 카메라가 켜질 수 있다. 위 명령어로 usb_cam 이 안켜지면
rosrun usb_cam usb_cam_node video_device:=/dev/video2
로 맨 뒤 video2 처럼 본인이 키고자 하는 카메라번호를 바꿔가면서 키면 거의 다 켜질것이다!
rviz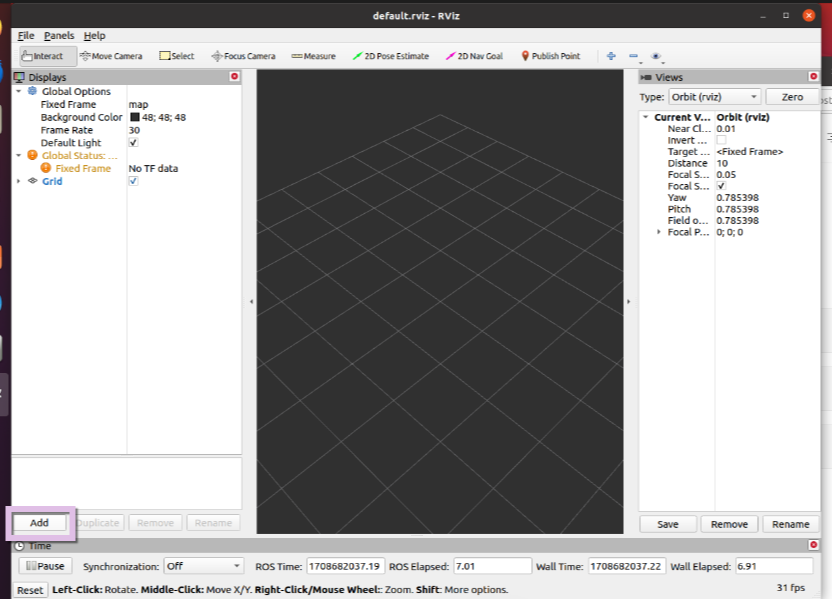
Add 창을 누르고

By topic 으로 들어가 /usb_cam/image_raw/Image_raw 를 클릭하면
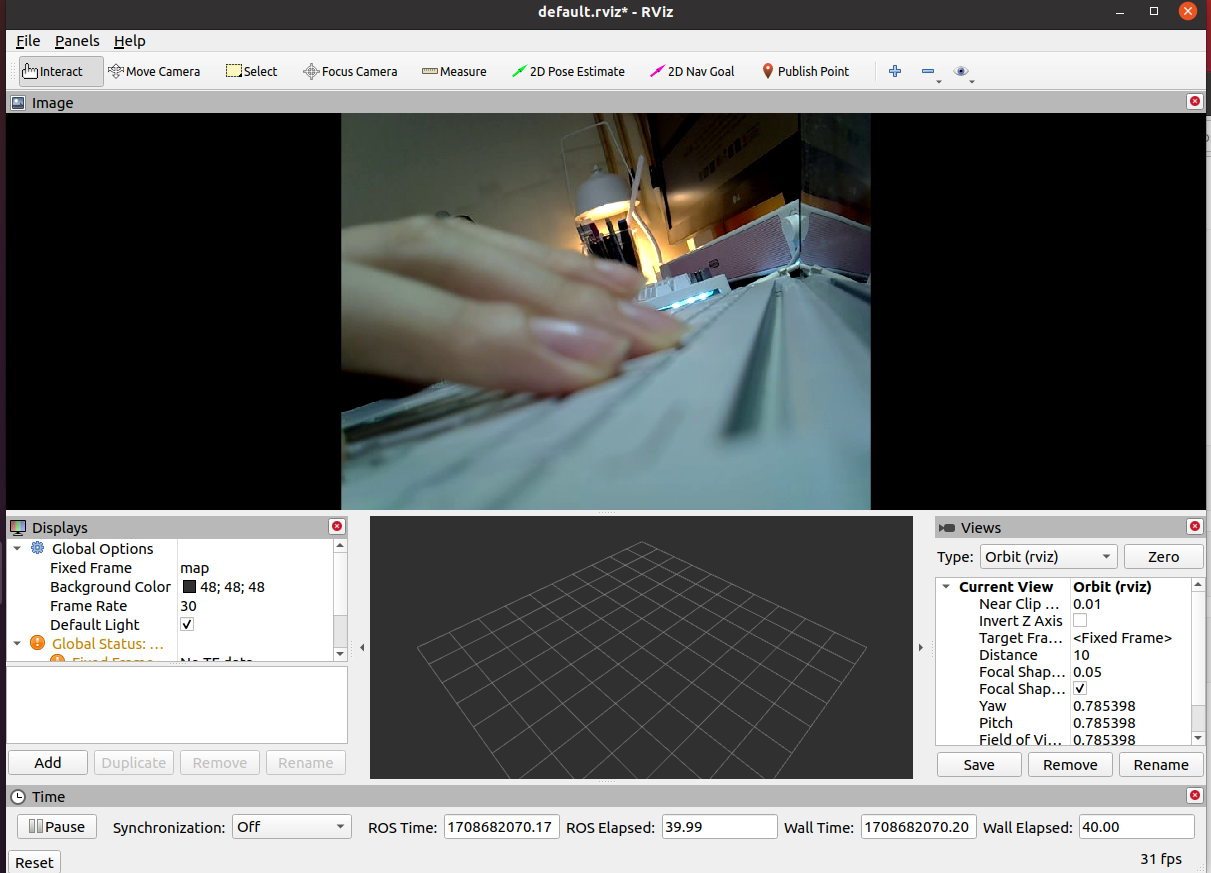
맨 위와 같은 카메라 화면이 뜬다. 이렇게 뜨면 이제 카메라 촬영 준비는 끝났다.
2-2 카메라 녹화(bag 파일)
github 에서 보면

다음과 같은 topic 이 필요하다.
2-1 단계에서 카메라를 키고
rostopic list를 치면 본인 카메라의 topic 들이 뜨는데 나는
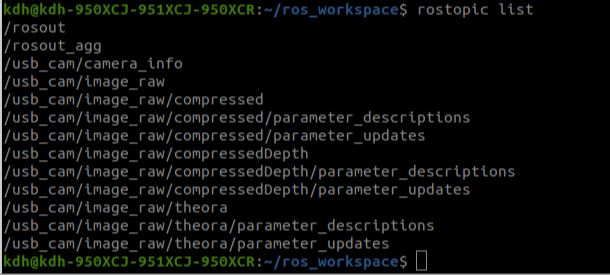
다음과 같이 뜬다.
github 에서는
/sensors/camera/image_color 토픽과 /sensors/camera/camera_info 토픽을 사용하였는데,
이는
/usb_cam/image_raw 와 /usb_cam/camera_info 로 바꿔 사용해도 무방하다.
암튼,
이제 위 토픽 2개를 포함해서 카메라 촬영을 하는데 이때 체커보드를 포함하여 카메라 촬영을 하도록 한다. (나중에 캘리브레이션 할때 필요.)

카메라 bag 파일 녹화
roscorerosrun usb_cam usb_cam_noderosbag record /usb_cam/image_raw /usb_cam/camera_info* 찍을 카메라 토픽 2개를 포함.
카메라 bag 파일 재생
roscorervizrosbag play 촬영된파일.bag -l
* rviz 세팅 Add -> By topic -> image raw
다음단계에서....